 Image: monticello / Shutterstock
Zoom is still one of the best apps for video conferencing and video chatting with friends and family, but like all software tools, it needs a bit of personalization to work just how you want it to.
Maybe you don’t want your webcam’s video feed mirrored, or you’d rather have a dark theme for the Zoom app’s interface, or maybe you want the thumbs-up emoji to match your real-life skin tone.
If you want to elevate your Zoom experience, here are some key Zoom settings that are worth tweaking right out of the gate.
Connect your calendar


Jon Martindale / IDG

Jon Martindale / IDG
Jon Martindale / IDG
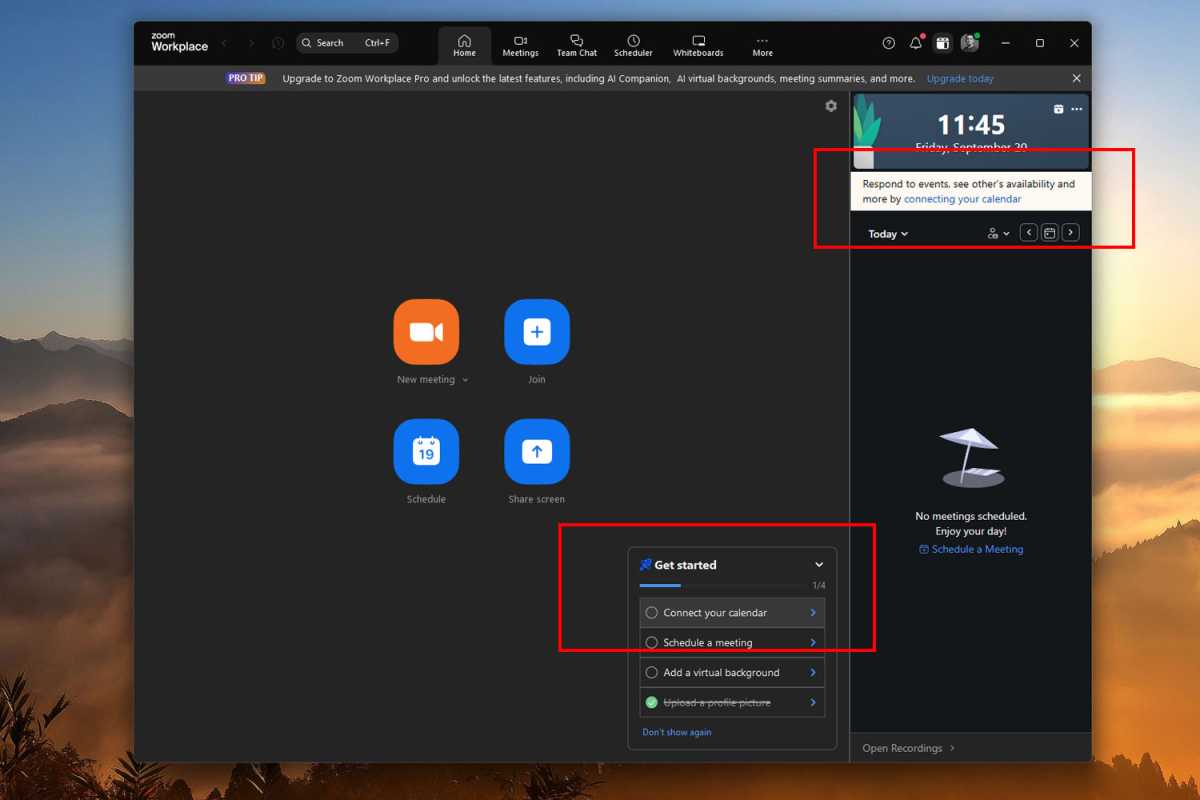
There’s a reason why this tip is one of the first ones to show up on the “Get Started” checklist when you first launch Zoom. If you’re going to have regular meetings or video calls, having your digital calendar integrated with Zoom makes everything way easier.
To do this, either click Connect your calendar in the Get Started list or click the Connecting your calendar link in the upper-right. Alternatively, log into your Zoom account on the Zoom site, then go to your profile page and scroll down to the Others section, then select Configure Calendar and Contacts Service and follow the on-screen instructions.
Toggle dark mode
I hate blinding white apps, browsers, and backgrounds, so I always enable dark mode in apps that support it — and that includes Zoom. (If you’re on a laptop with an OLED display, dark mode can also help extend battery life and reduce burned-in images.)
To enable dark mode in Zoom, click your profile picture, then Settings. In the General section, scroll down to Appearance, then select Dark.
Tweak audio settings


Jon Martindale / IDG

Jon Martindale / IDG
Jon Martindale / IDG
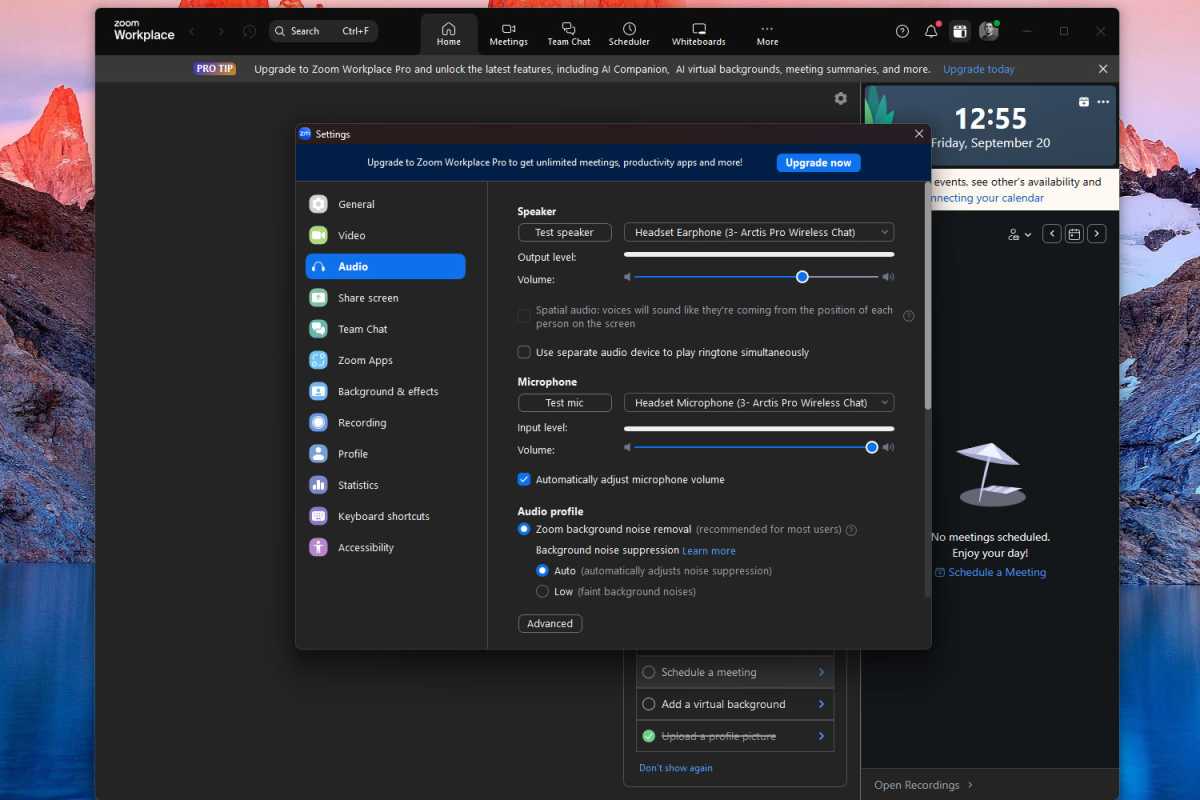
Zoom works well enough out of the box, but a few audio settings tweaks can really improve the overall experience — not just for you but also everyone else you end up being on calls with.
Open the Settings in Zoom and select the Audio section on the left-side navigation. Here, choose the right microphone input and speaker output, then test to ensure both are working correctly. (This is always a good idea with a new Zoom installation.)
Other key settings worth tweaking in this section: enable Zoom background noise removal with background noise suppression set to Auto, and enable the Mute my microphone when joining checkbox to make sure you never accidentally disrupt a meeting as you join.
Tweak video settings
If you’re planning to show yourself on camera, it’s well worth tweaking the video settings so you look your best and maintain your privacy. Navigate to Settings > Video in the Zoom app and you’ll be able to tweak a range of video settings.
Make sure your webcam is plugged in and turned on (assuming you’re using an external webcam and not one that’s, say, built into your laptop). Choose whether you want your webcam video to appear in its native aspect ratio and whether it should be in HD (if your webcam is HD).
The mirroring setting can be comfortable, but you might want to disable it if you’re going to give presentations or frequently show text on screen (otherwise text will appear backwards).
Consider ticking the Turn off my video when joining option so you can always double-check your surroundings before your webcam feed goes live. And if you’re the kind of person who gets self-conscious and ends up staring at yourself all throughout meetings, you should consider toggling the Hide self view option.
Looking for a virtual background to use in your calls? You’ll find a range of options and filters in Settings > Background & effects.
Tweak screen sharing settings
I don’t know about you, but I always get a little nervous when I need to share my screen on Zoom. Am I going to accidentally reveal sensitive or embarrassing information and not even realize it?
You can alleviate some of that anxiety by properly setting up screen sharing settings from the get-go in Settings > Share screen.
Under the “When I share my screen in a meeting” label, make sure you’re set to Show all sharing options. This way your entire screen isn’t automatically shared and you can always choose what to show. Do the same under the “When I share directly to a Zoom Room” label.
Also, under the “Share applications” label, pick the Share individual window option so you can be sure you’re only sharing one window at any given time, not all of them.
Enable meeting security features
“Zoom bombing” is a fact of life for some organizations and individuals, so locking down your meetings and calls is a great way to give you peace of mind against that, all while increasing your data privacy.
Related: How to prevent Zoom bombing
To do so, log into the Zoom website and navigate to the Settings section on the left-side navigation. On the Settings page, look for the Meeting tab (between General and Webinar). Within the Meeting tab, scroll down to the Security subsection.
Now, look through all the options and tweak as applicable to you. For example, set up a waiting room so you can admit participants one by one, or require a passcode for new meetings, or limit meetings to authenticated accounts, etc.
Disable file sharing in meetings
You might trust the teams in your meetings to not send malware or unsecured files to each other. But can you be totally sure? What if they’re hacked or infected with viruses that try to send malicious files? Or what if an unauthorized user joins the meeting somehow?
Unless you’re 100% sure that your meetings are locked down and inaccessible to outside parties AND that every single participant you encounter adheres to safe file sharing practices AND that they’re cleared of viruses and unauthorized access, then disabling the sharing of files in meetings is a good safeguard to have in place.
Log into the Zoom website and navigate to Settings, then Meeting, then scroll down until you find Send files via meeting chat. Toggle that option to Off to disable file sharing. (Alternatively, you can set limits on file sizes and/or file types that can be shared.)
Manage meeting recordings
Recording your meetings can be a great way to maintain archived footage of important discussions or demonstrations. But before you start recording, make sure your settings are what you need them to be.
First, adjust the recording settings in Settings > Recording to tweak where the footage gets saved, whether you want audio to be separated or not, and whether you want shared screens to be recorded.
You can further adjust recording options on the Zoom website by logging into your account and navigating to Settings > Recording. There you can set who can record within your meetings, who gets notifications when a recording is ongoing, and other advanced settings.
Tweak accessibility settings


Jon Martindale / IDG

Jon Martindale / IDG
Jon Martindale / IDG
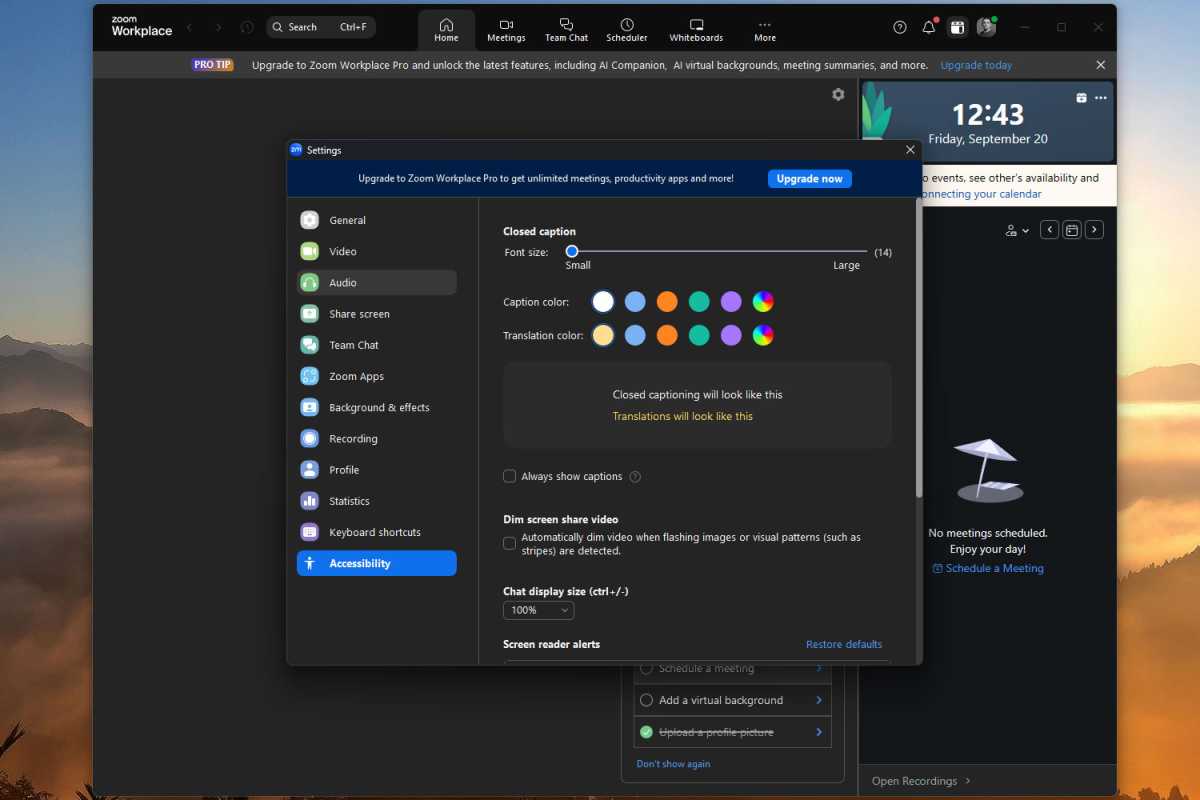
Zoom has some excellent accessibility settings that can help make text more legible, auto-enable closed captions in meetings, minimize flashing images and patterns, and customize screen reader alerts.
If any of that sounds useful to you, make sure you head over to Settings > Accessibility and play around with these options.
Choose your emoji skin color
The default yellow skin color for emojis is relatively inoffensive, but maybe you don’t want to be represented by a Simpsons character. Zoom has a number of different skin color options to pick from, which will show up in chats and reactions during meetings.
To do so, navigate to Settings > General and scroll down to the Reactions section. There you’ll see a number of thumbs-up emojis with different skin tones. Choose the one you want to use.
Enhance your meetings with Zoom apps


Jon Martindale / IDG

Jon Martindale / IDG
Jon Martindale / IDG
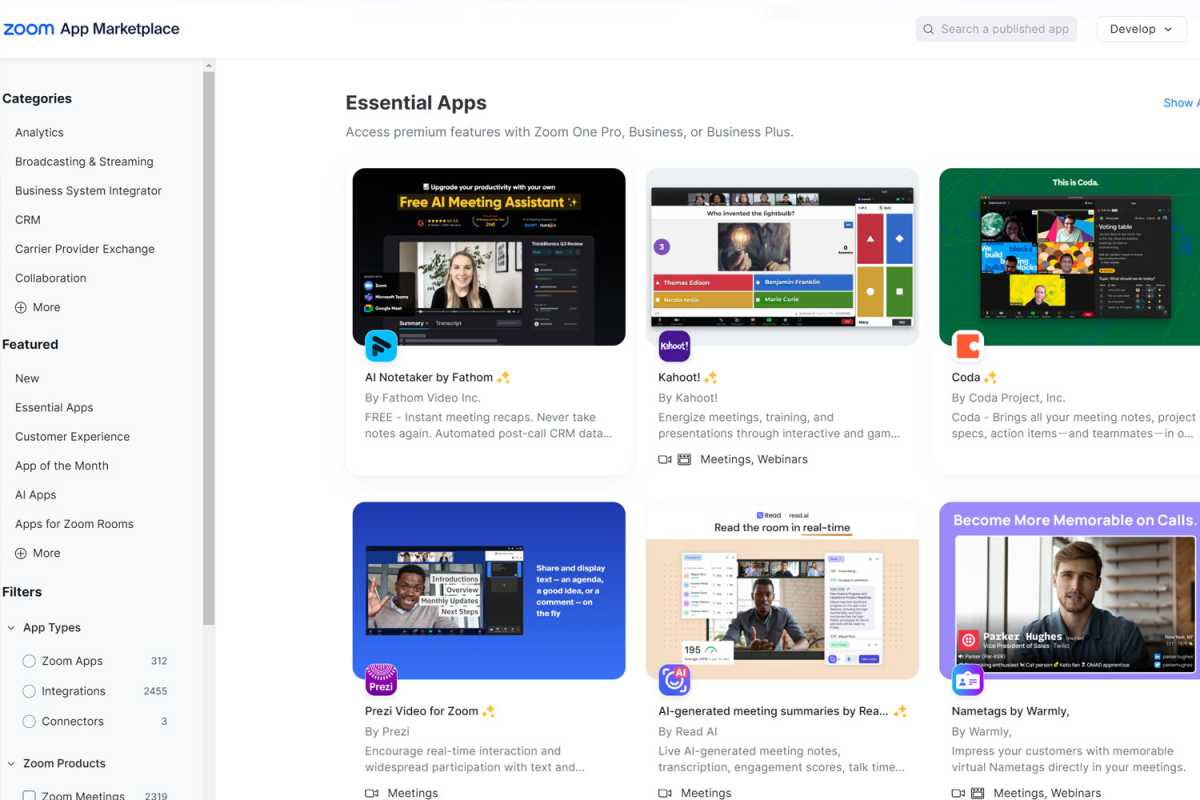
Zoom apps are a great way to make meetings more dynamic and automated. You have Group Photo, Music, and Timer apps installed by default, which you can enable by navigating to Settings > Zoom apps and toggling the ones you want.
For a much wider array of options, visit the Zoom App Marketplace to explore over 2,700 apps currently available for use within Zoom. Examples include automated AI note takers, interactive games, meeting enhancements, custom text overlays, integrated cloud storage, a way to enable easier remote support for your teams, and more.
Author: Jon Martindale

Jon Martindale is a voracious writer and technology fanboy who loves nothing more than digging into the specs of the latest graphics cards, processors, and displays. He’s passionate about everything PC, but also enjoys experimenting with AIs, and covering new standing desks that can help avoid his worst posture habits.
Recent stories by Jon Martindale:
5 things GIMP can do that Adobe Photoshop can’t


