
 Image: Dominik Tomaszewski / Foundry
When Zoom exploded in popularity in 2020 because of the pandemic, many people installed and used it for the first time. This necessity led to virtually everyone sticking to the basics of virtual meetings.
But if you’re still only using the core Zoom features, you’re missing out. There are loads of ways to make your calls much more fun and useful, though it’s not always obvious that they exist.
And that’s why we’ve highlighted eight of the best here. If you want to improve your video calling experience without buying a new webcam or microphone, look no further: we’ve got tips that will help.
Crucially, all these features are available on the free version of Zoom. Removing the 40-minute limit is the main perk of paid plans (from $149.90/£119.90 per year).
The best webcam you can buy
Anker PowerConf C200
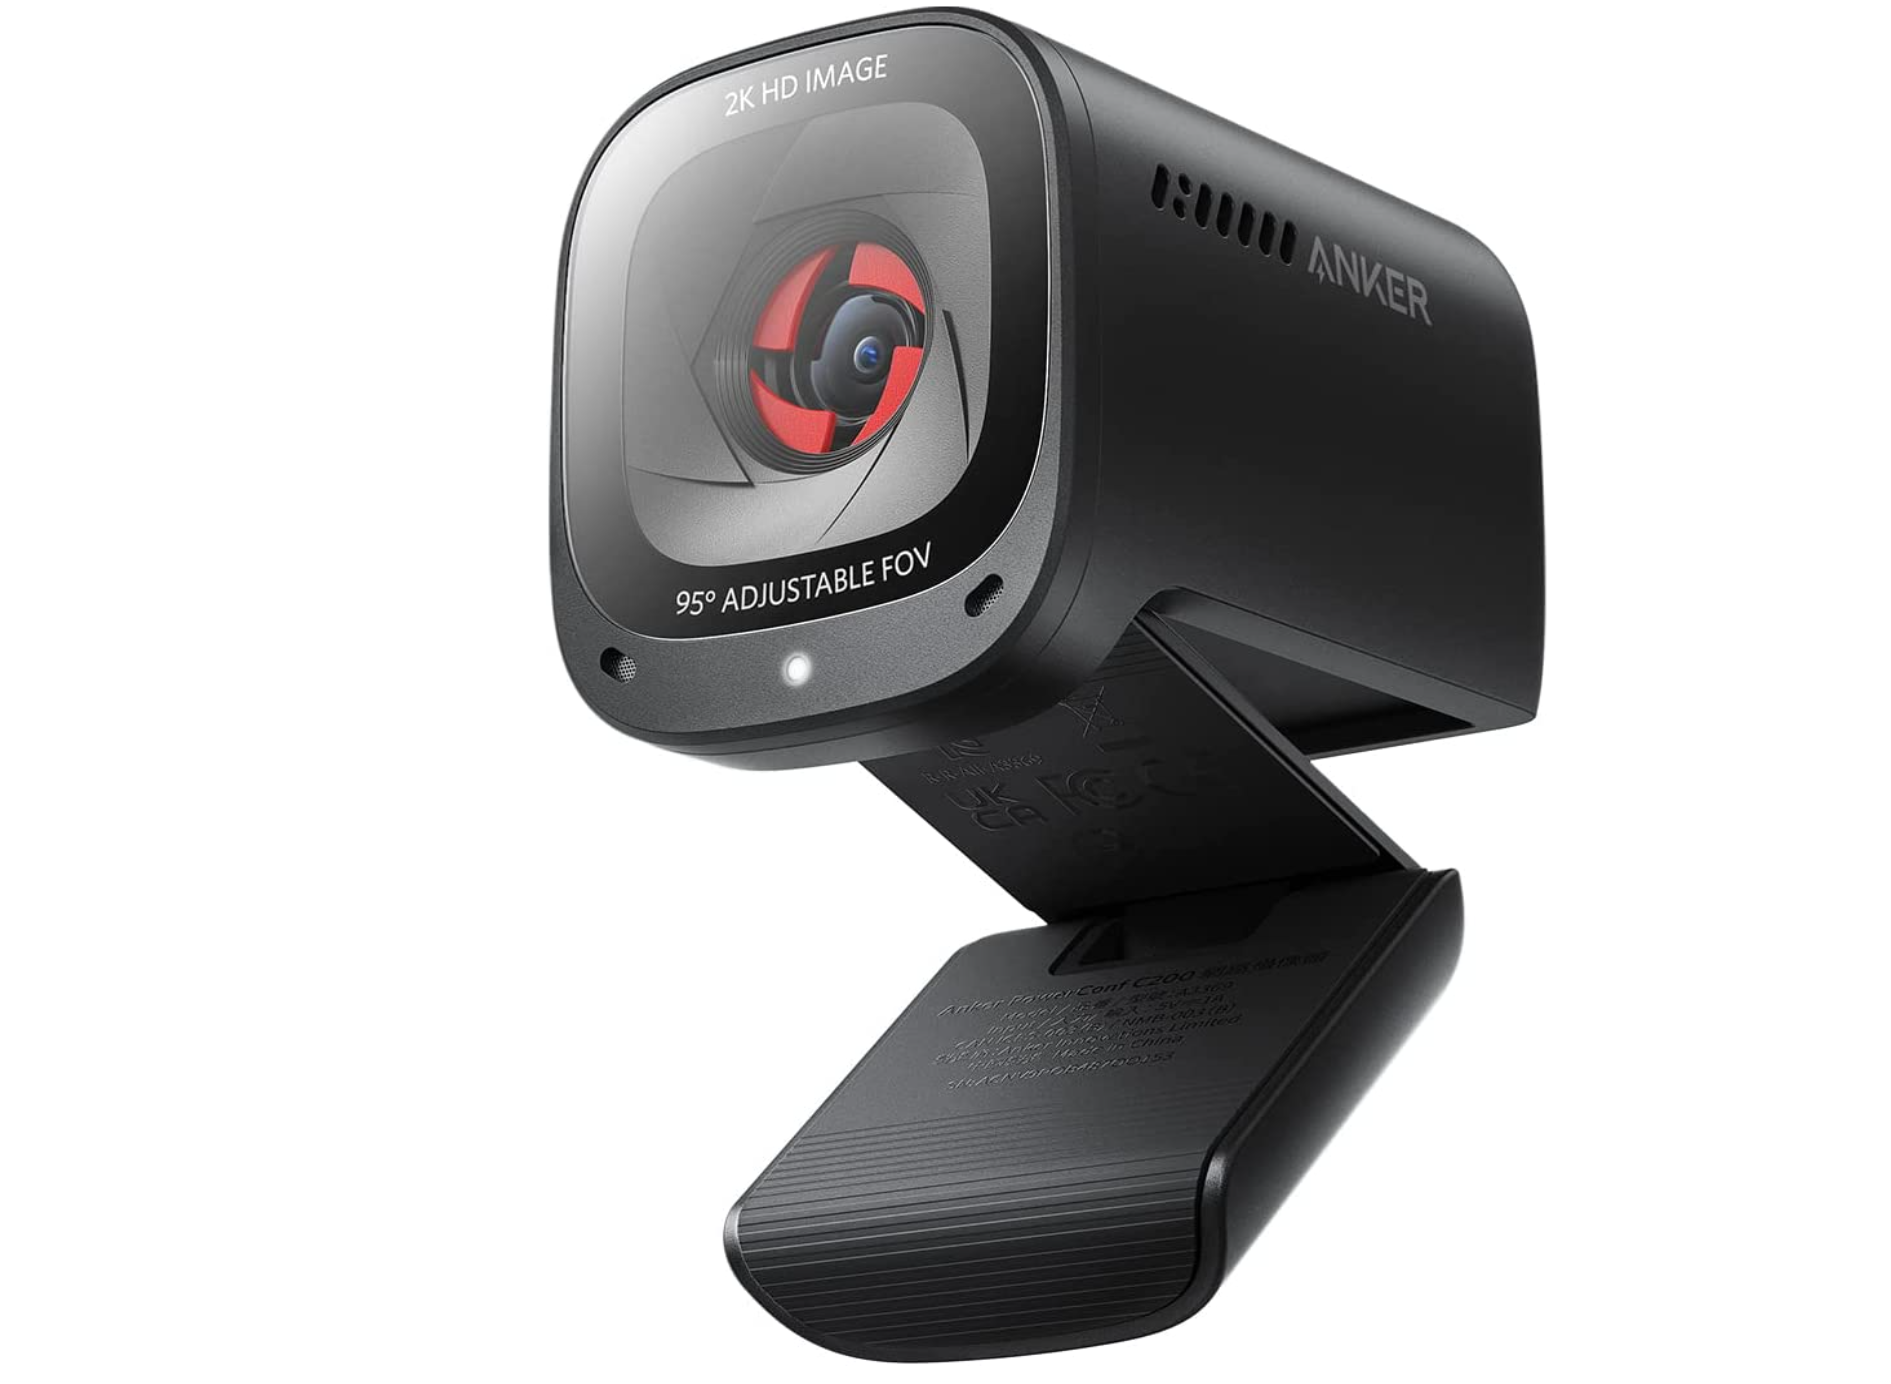 Price When Reviewed:$59.99Best Prices Today:$59.99 at Amazon | $59.99 at Anker | $59.99 at Walmart
1. Stop looking at yourself
We all want to look presentable on video calls, but it’s not a good idea to keep looking at yourself during a meeting.
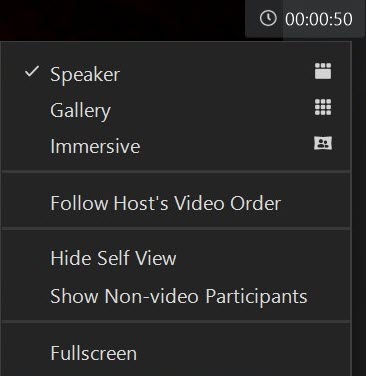
Instead, once you’re happy with the lighting and framing, click the ‘View’ button in the top-right corner and click ‘Hide Self View’.
Anyron Copeman / Foundry
Anyron Copeman / Foundry
Anyron Copeman / Foundry
2. Use Immersive View
Rather than just looking at the person speaking or a grid of all participants, how about something that makes it at least seem like you’re in the same room?
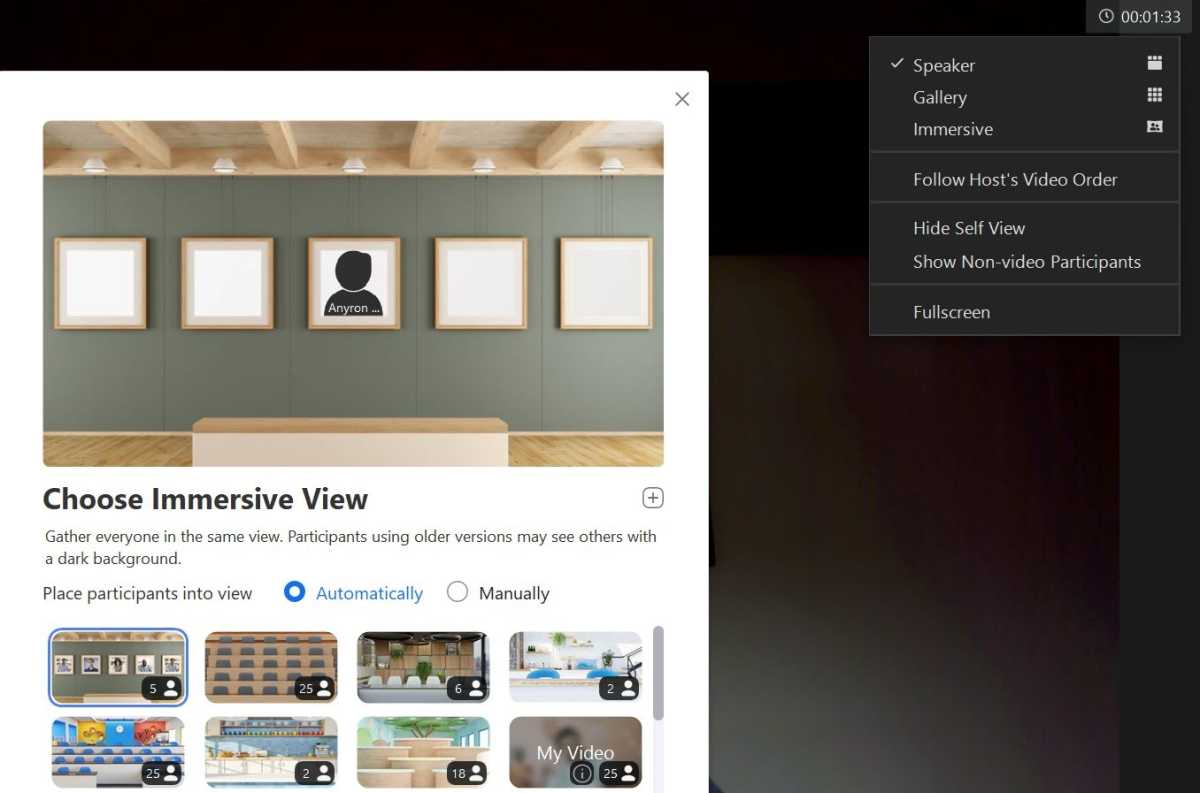
Immersive View is as close as it gets, allowing you to place up to 25 participants on a single virtual background. There are plenty to choose from, including a classroom, auditorium or even art gallery.
To get started, create or join a call with two or more participants. Click the ‘View’ button in the top-right corner, then select ‘Immersive. From the window that appears, choose which of the virtual environments you’d like to use – some will take a few seconds to download.
Anyron Copeman / Foundry
Anyron Copeman / Foundry
Anyron Copeman / Foundry
Decide whether to automatically or manually add participants, then click ‘Start’. Immersive View will only apply to your own view, even if you’re the host, and won’t force everyone else to see what you’re seeing.
3. Create an avatar
If you’d prefer not to show your video at all, how about an avatar instead? While appropriate for casual meetings and probably not when others need to see the real you, avatars can be a fun way to add some personality to your video calls.
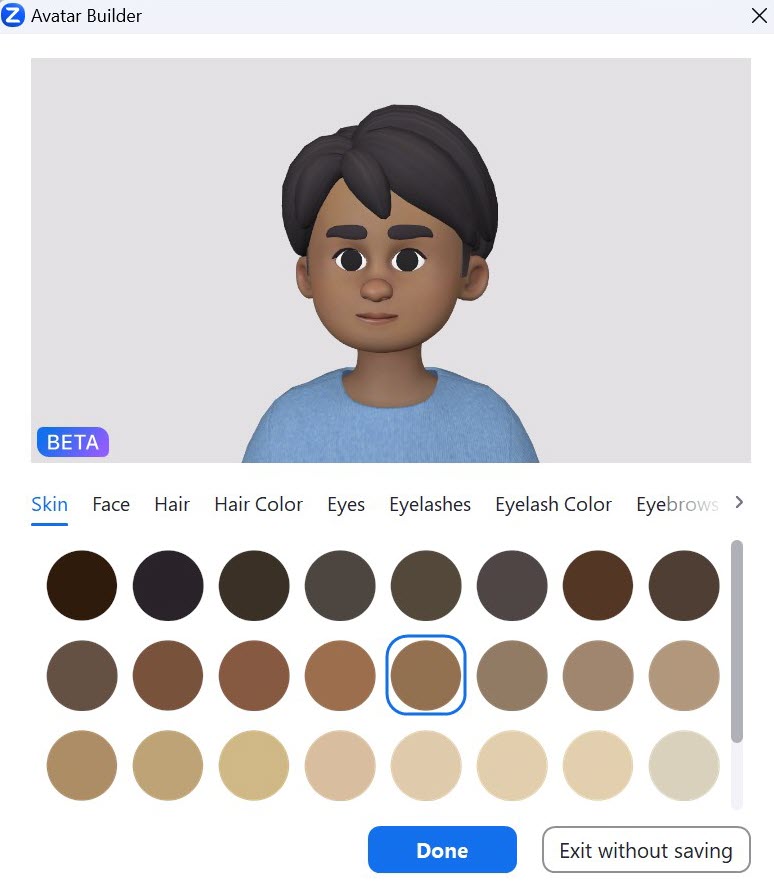
From the main Zoom home screen, click the Settings cog in the top-right corner, just below your profile icon. Choose ‘Background & Effects’ from the left side, then ‘Avatars’ (still in beta at the time of writing).
Click the + icon to fully customize your own avatar, then click ‘Done’ once finished. Alternatively, simply click one of the preset animal versions below.
Anyron Copeman / Foundry
Anyron Copeman / Foundry
Anyron Copeman / Foundry
Your avatar’s head and face movements will mirror your own, so it’s still easy to know when you’re speaking.
4. Use PowerPoint as a virtual background
Adding blur or an image to your background is a popular feature on Zoom. But how about a full PowerPoint presentation? It’s a great option for presenting to a group, but not something many people know about.
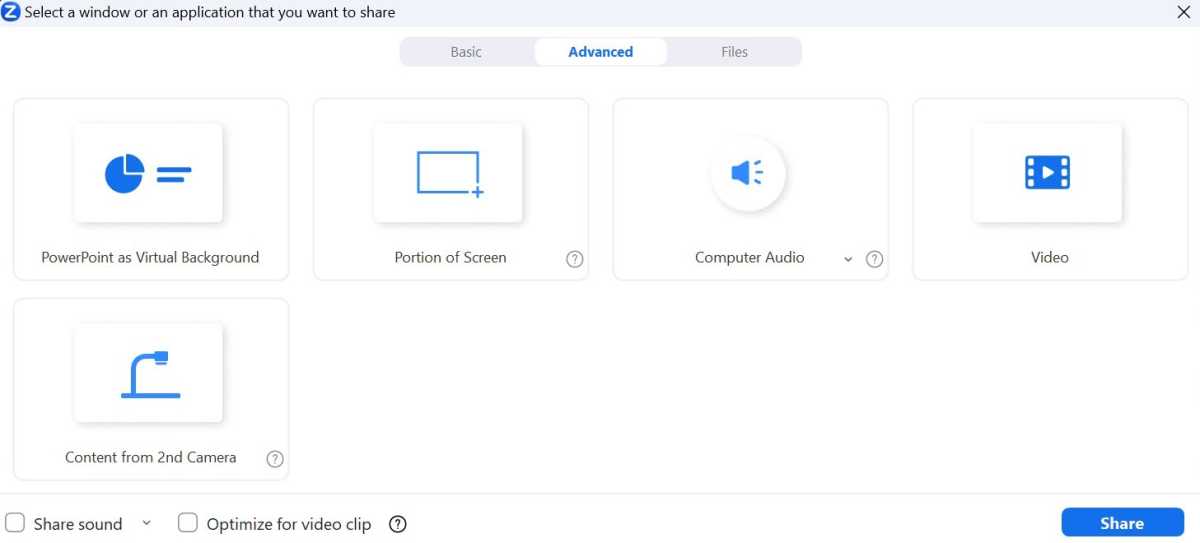
Provided the host has allowed it, anyone can present with a PowerPoint background. After joining the call, click the green ‘Share Screen’ button, then select the ‘Advanced’ tab. Double-click ‘PowerPoint as Virtual Background’, then select your PowerPoint file.
Anyron Copeman / Foundry
Anyron Copeman / Foundry
Anyron Copeman / Foundry
By default, a small video feed will be in the top-right corner. But you can resize and move this by clicking the three dots and choosing ‘Resize My Video’.

Anyron Copeman / Foundry
Anyron Copeman / Foundry
Anyron Copeman / Foundry
5. Use the vanishing pen
You might be familiar with Zoom’s annotating features, which allow participants to add notes and other information to a shared document from within the call.
But to get someone’s attention about something, you don’t want to draw all over it. Instead, you can use the vanishing pen, which ensures any drawings disappear after only a couple of seconds.
To use it, start a call and click the green ‘Share Screen’ button and choose which window you’d like to share. Click the ‘Annotate’ button from the toolbar at the top, then hover over ‘Spotlight’ and select the icon which looks like a dashed line below a pen – that’s the Vanishing Pen.

Anyron Copeman / Foundry
Anyron Copeman / Foundry
Anyron Copeman / Foundry
6. Turn on Live Captions
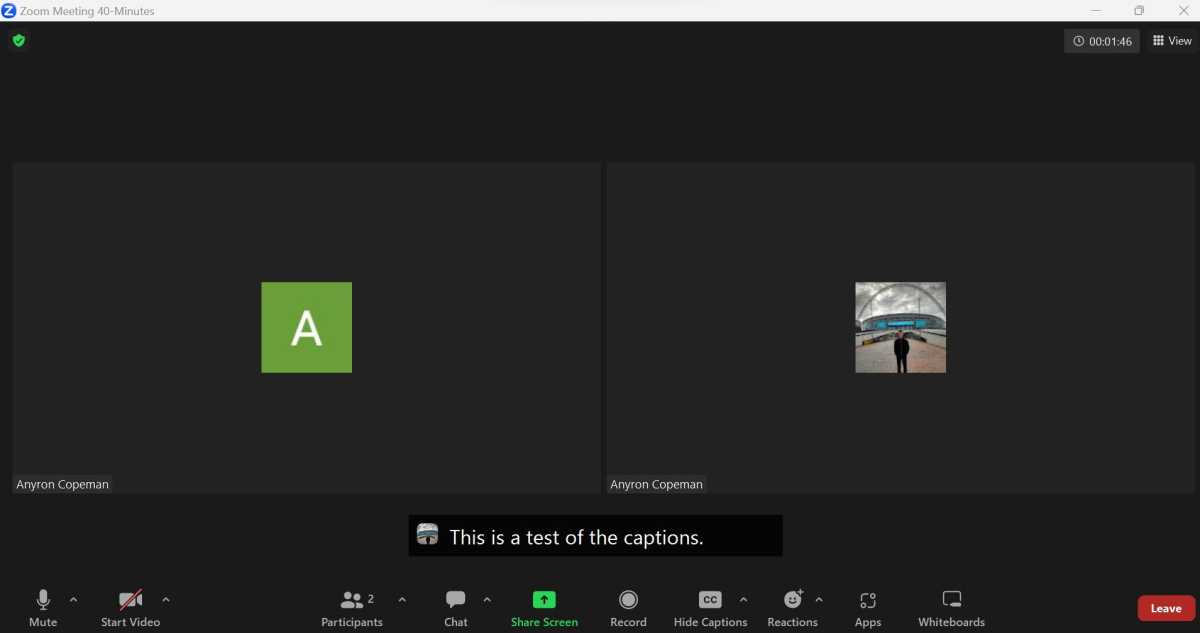
Live Captions is an excellent accessibility feature, allowing those who are hard of hearing to understand what’s being said in a meeting. But it can be useful for everyone, especially if someone’s audio is breaking up, or their mic is too quiet.
To get started, open the Zoom website and sign in. Click ‘Settings’ from the left side, then ‘Meeting’ and ‘In Meeting (Advanced)’. Scroll down to ‘Automated captions’, then click the toggle to turn it on.

Anyron Copeman / Foundry
Anyron Copeman / Foundry
Anyron Copeman / Foundry
Now, open the Zoom app and click the Settings cog. Select accessibility, then check the box next to ‘Always show captions’.
Anyron Copeman / Foundry
Anyron Copeman / Foundry
Anyron Copeman / Foundry
7. Send video messages
As you might be aware, Zoom can be used for much more than just meetings. It can also work as a standalone messaging app, with channels, mentions, and chats making it a genuine Slack rival.
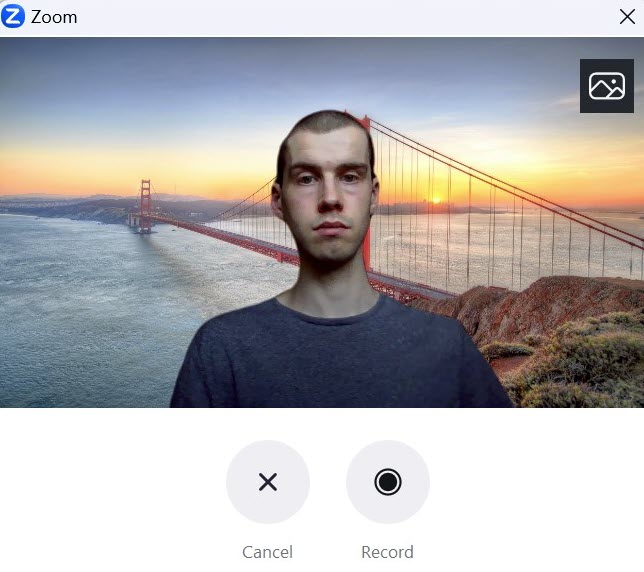
Alongside the usual text, emojis, GIFs, documents, and voice messages, you can also send video messages. These are clearly more personal than the other forms of communication, and mean you don’t have to be in a call together to share information. But with access to all the usual virtual backgrounds and filters, they can also look very professional.
Simply open the Zoom app and click the ‘Team Chat’ section at the top. Find someone you’d like to send a video message to, or click the blue compose button to start a new chat.
Then, click the camcorder icon in the toolbar at the bottom of the screen. Click the image icon to choose a virtual background and/or filter (if you’d like), then click ‘Record’.
Anyron Copeman / Foundry
Anyron Copeman / Foundry
Anyron Copeman / Foundry
Each video message can last up to three minutes, but won’t be sent until you click the blue ‘Send’ button.
8. Give non-verbal feedback
In large meetings, it’s often not appropriate to just start talking when you want to give a response. Messaging in the chat is a better option, but it can easily be missed.
Instead, how about raising a virtual hand? This flags to the host that you’d like to speak without interrupting what’s currently being said.
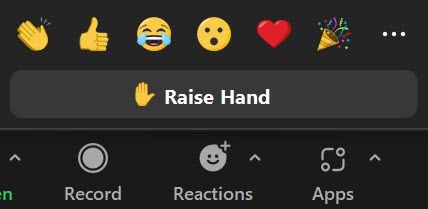
To use it, simply join a meeting and click the ‘Reactions’ button from the toolbar at the bottom of the screen (if the host has made it available). Select ‘Raise hand’ and a hand emoji will be displayed next to your name and video feed. Once you’ve finished speaking, simply click ‘Lower hand’.
Anyron Copeman / Foundry
Anyron Copeman / Foundry
Anyron Copeman / Foundry
But if you’d like to respond without adding any comment, just use an emoji. Click ‘Reactions’, then one of the six most popular or the three dots and any emoji you’d like. Whichever you choose will stay on screen for a few seconds.
Further reading: The best webcams
This article originally appeared on techadvisor.com.
Author: Anyron Copeman, Senior Staff Writer

As the resident expert on Windows, Senior Staff Writer Anyron’s main focus is PCs and laptops. Much of the rest of his time is split between smartphones, tablets and audio, with a particular focus on Android devices.


