**Introduction**
As industrial and hobbyist interest in laser technology continues to grow, understanding the components that enable such systems to function optimally is crucial. One of the most important components in a CO2 laser setup is the CO2 laser controller board. This article delves into what a CO2 laser controller board is, its features, how to select the right one, and how to set it up for maximum efficiency.
**What is a CO2 Laser Controller Board?**
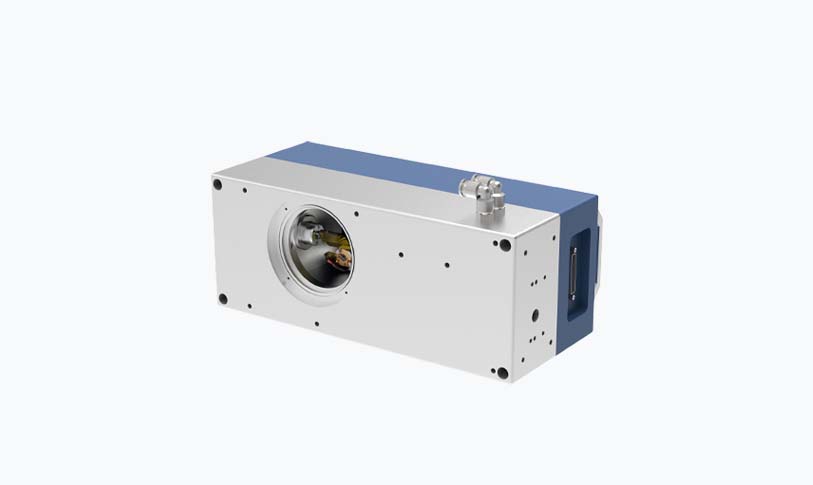
A CO2 laser controller board is an electronic interface that manages the operations of a CO2 laser cutting or engraving machine. It regulates various functions, including power levels, movement, speed, and the overall functionality of the laser system. This board interfaces with external hardware such as motors and sensors, transforming digital input from a computer into analog signals that can effectively control the laser’s various functions.
**Key Features of CO2 Laser Controller Boards**
1. **User-Friendly Interface**: Most modern controller boards come equipped with an intuitive interface, allowing operators to easily adjust settings and control the machine.

Understanding the CO2 Laser Controller Board: A Comprehensive Guide to Selection, Setup, and Optimization for Your Laser Projects
2. **Microcontroller Compatibility**: Many CO2 laser setups use popular microcontroller platforms, such as Arduino, which enhances customization and programming capabilities for end-users.
3. **Multi-Functional Capability**: Advanced controller boards support multiple functionalities, including engraving, cutting, and even 3D printing, making them versatile for various applications.
4. **Support for Multiple Software**: The compatibility with different design software, such as LightBurn and LaserCAD, allows users to work seamlessly from design to output.
5. **Safety Features**: Good controller boards come with built-in safety measures such as emergency stops and protective circuits to prevent damage to the machine or harm to the operator.
**Choosing the Right CO2 Laser Controller Board**
Selecting the appropriate controller board for your CO2 laser system can significantly affect your project outcomes. Here are key factors to consider:
1. **Compatibility**: Ensure that the controller board you choose is compatible with your CO2 laser model, including the power supply and other hardware components.
2. **Functionality and Features**: Assess whether the board has the features you need, such as rotary engraving capabilities or advanced settings for complex designs.
3. **User Community and Support**: Boards with larger communities or dedicated support forums tend to offer better troubleshooting help and more resources for learning and customization.
4. **Budget Considerations**: While it might be tempting to choose the least expensive option, investing in a well-regarded, feature-rich board can save you time and headaches in the long run.

Understanding the CO2 Laser Controller Board: A Comprehensive Guide to Selection, Setup, and Optimization for Your Laser Projects
**Setting Up Your CO2 Laser Controller Board**
Setting up your CO2 laser controller board requires careful consideration and a step-by-step approach. Here is a simplified outline for the setup process:
1. **Mount the Controller**: Start by correctly mounting the controller board in a stable, dry environment, ensuring it’s well secured away from vibrations or physical disturbances.
2. **Wiring Connections**: Make the necessary wiring connections between the controller board and the laser, stepper motors, power supply, and any other peripherals. Double-check polarities to avoid short circuits.
3. **Software Installation**: Download and install compatible software that works with your laser controller board. After the installation, configure your settings based on the laser’s specifications.
4. **Calibration**: Calibrate the laser machine to ensure accurate cuts and engravings. This may involve setting the focus of the laser lens and adjusting the axis movements for precise operation.
5. **Testing**: Perform a series of test cuts or engravings to evaluate performance and make adjustments as needed. Keep an eye out for issues like inconsistent speed or power output, which might require troubleshooting.
**Optimizing Your Laser Projects**
To achieve the best results from your CO2 laser controller board, consider optimizing various settings, including laser speed, power levels, and material-specific parameters. Regular maintenance checks will also ensure long-lasting performance and precision of your laser system.
**Conclusion**

Understanding the CO2 Laser Controller Board: A Comprehensive Guide to Selection, Setup, and Optimization for Your Laser Projects
The CO2 laser controller board is at the heart of your laser cutting and engraving system, serving as the command center that translates your designs into tangible products. By understanding its features, making an informed selection, and setting it up diligently, you will unlock the full potential of your laser projects. With proper care and optimization, your CO2 laser system can become a powerful tool for creativity, innovation, and production. Whether you’re a hobbyist or a professional, mastering this technology can significantly enhance your capabilities.laser fiber marking machine


