The Windows 10 Fall Creators Update launched on October 17, stuffed with all sorts of cool new features. That doesn’t mean you’ll get it immediately. Microsoft rolls out big updates in waves. But the Windows 10 Fall Creators Update is available right now if you’re the impatient type.
And bold: Microsoft only pushes the Windows 10 Fall Creators Update to PCs if it knows your computer won’t run into technical issues or nasty bugs, like the broken webcams, Kindle-induced crashes, and system freezes that followed in the wake of Windows 10’s Anniversary Update in 2016. In fact, Microsoft actively discourages workarounds like the one below even though it makes them available.
Your PC will probably be fine if you download the Windows 10 Fall Creators Update ahead of schedule, all that said—but heed the warning and back up your PC’s data before you take the plunge. Better safe than sorry!
How to download the Windows 10 Fall Creators Update
 Brad Chacos/IDG
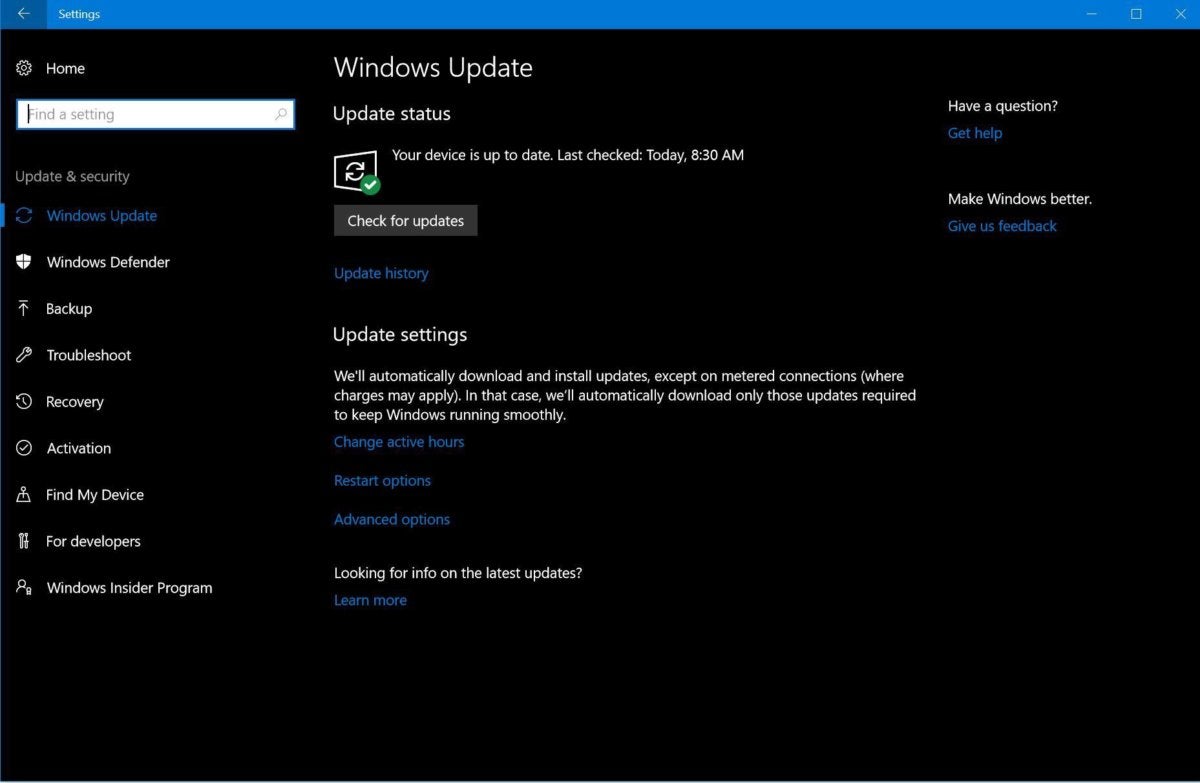
A screenshot of Windows 10’s Windows Update status screen.
Before you force the issue, check to make sure that the Windows 10 Fall Creators Update isn’t actually available to you. Open the Start menu and head to Settings > Updates & Security > Windows Update. The status at the top tells you if your device is up to date, and when its status was last checked. Click the Check for updates button underneath and see if it offers up the Fall Creators Update.
 Microsoft
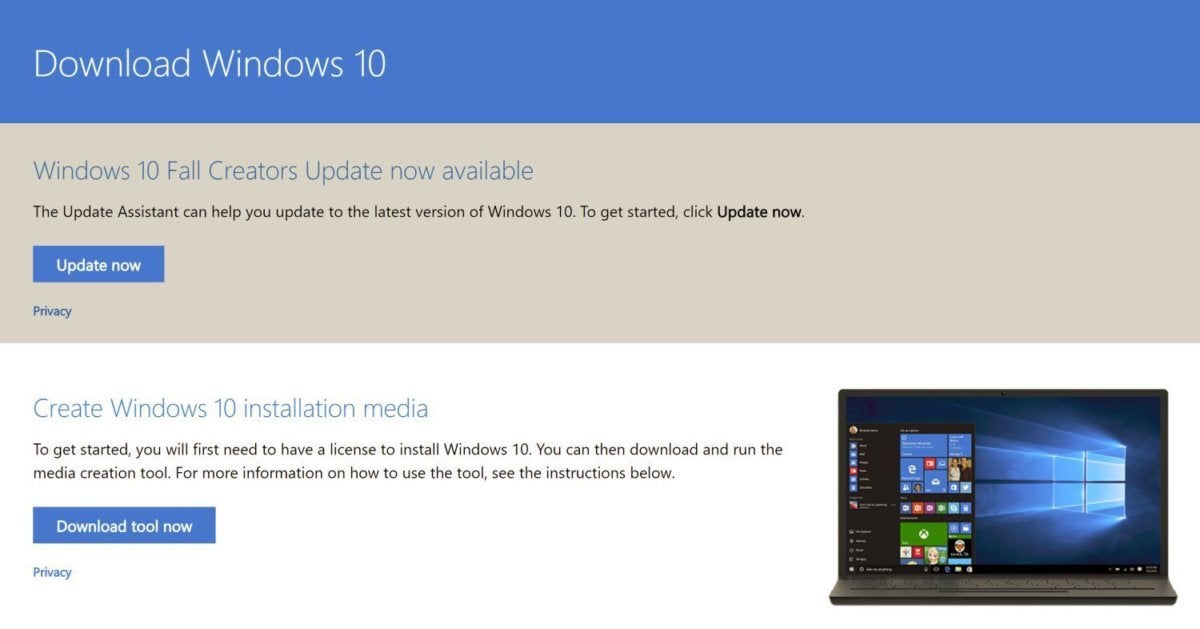
Microsoft’s ‘Download Windows 10’ page.
If not, you can force the installation using Microsoft’s tried and true “Download Windows 10” webpage, which has reliably allowed milestone updates-on-demand since Windows 10’s early days.
 Mark Hachman/IDG
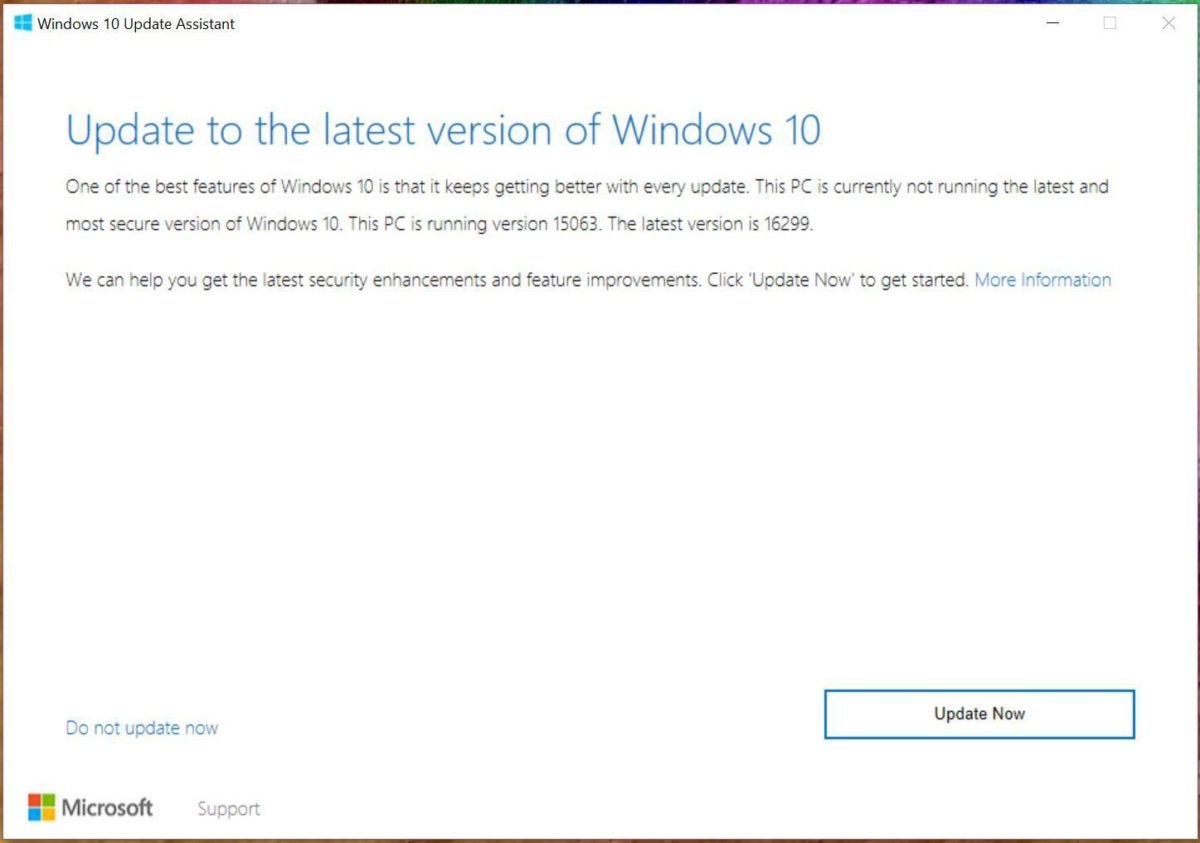
Simply click the Update Now button. Windows 10’s Upgrade Assistant will scan your PC and start the upgrade process to Windows 10 build 16299, a.k.a. the Fall Creators Update. Again: Back up your PC first! At the very least, drag your most important files over to an external drive or flash drive. The Update Now button performs the update-in-place process similar to what you’d get if Microsoft pushed the upgrade your way. It’s very straightforward.
How to clean-install the Windows 10 Fall Creators Update
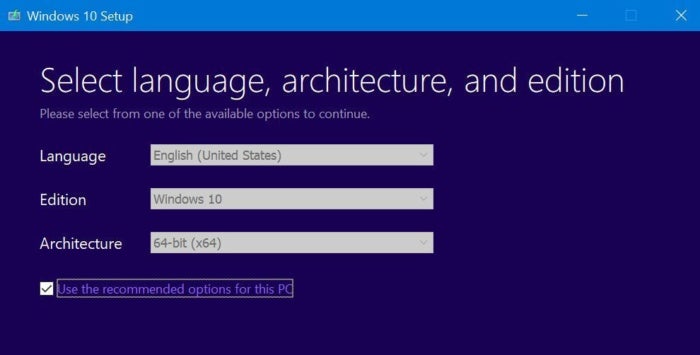
If you’d prefer to perform a clean install of the Windows 10 Fall Creators Update, use the option on the Download Windows 10 page to create Windows 10 installation media instead. The downloaded tool will help you create the appropriate upgrade software. Keep the Use the recommended options for this PC box checked to ensure the version of Windows 10 you’re installing mirrors the version already on your PC. They need to match exactly.
 Brad Chacos/IDG
After selecting the proper version of Windows, you’ll be asked to select whether to save the files to an 8GB (or larger) USB drive, or as an ISO file that you can slap directly on a storage drive. Make sure your chosen drive is actually connected to your PC, then walk through the appropriate steps. Again, it’s very straightforward. PCWorld’s tutorial on using Microsoft’s Windows 10 Media Creation tool provides a visual step-by-step of installing the media on a flash drive if you’d like a guide.
With your installation media in hand, it’s time to install the Windows 10 Fall Creators Update on your PC after preparing to clean-install Windows the right way. (Back. Up. Your. Data. First.) Head into your PC’s setup screen and make sure it’s set to boot from the type of drive you’ve plopped Windows 10 onto, then reset your PC and off you go. From here, it’s just your standard Windows clean installation process. Easy-peasy.
And that’s it! Welcome to the next generation of Windows. Now that you’re here, be sure to check out the Windows 10 Fall Creators Update’s best new features.


